初探 QML 系列 -- 重构 QWidget 组件
背景介绍
Qt 客户端开发入门容易,进阶难哦。举个例子:同事 A 开发耗时30d (15d 开发 + 15d 优化),而且一堆烂代码。同事 B 开发耗时 3d 已达到最优化状态。虚线带人好难哦~~~
预备知识
ImageSlider 组件涉及到的知识点比较广。因此,博主把一些需要强调的非组件知识放在 预备知识 环节。
ImageProvider
The QQuickImageProvider class provides an interface for supporting pixmaps and threaded image requests in QML.
The QQuickAsyncImageProvider class provides an interface for asynchronous control of QML image request.
有官方定义可知,该类接口用户返回所需图片。至于图片从哪里来,完全由用户重载的接口实现决定:网络图片、本地图片、自定义图片。本文不再详细讲解接口使用方法(网上一大堆)。
Object Fit: Cover
- definitions from CSS
The CSS object-fit property is used to specify how an
<img>or<video>should be resized to fit its container.- fill: the image is resized to fill the given dimension. if nessary, the image will be stretched or squished to fit
- contain: the image keeps its aspect ratio, but is resized to fit within the given dimension
- cover : the image keeps its aspect ratio and fills the given dimension. The image will be clipped to fit
- none: the image is not resized
- scale-down: the image is scaled down to the smallest version of non or contain
- definitions from QML
- Image.Stretch: the image is scaled to fit
- Image.PreserveAspectFit: the image is scaled uniformly to fit without cropping
- Image.PreserveAspectCrop : the image is scaled uniformly to fill, cropping if nessary
- Image.Tile:the image is duplicated horizontally and vertically
- Image.TileVertically: the image is stretched horizontally and tiled vertically
- Image.TileHorizontally: the image is stretched vertically and tiled horizontally
- Image.Pad: the image is not transformed
- definitions from QWidget
- Qt::IgnoreAspectRatio: the size is scaled freely. the aspect ratio is not preserved.
- Qt::KeepAspectRatio: the size is scaled to a rectangle as large as possible inside a given rectangle, preserving the aspect ratio.
- Qt::KeepAspectRatioByExpanding: the size is scaled to a rectangle as small as possible outside a given rectangle, preserving the aspect ratio.
通常,设计人员具备的是 Html 相关的技术术语:这也是该小节标题 Cover的由来。同时考虑到本系列与 Qt 强相关,所以同时把 QWidget 和 QML 中相关定义也拿来做对比。
GraphicalEffects
- LinearGradient
Linear gradients interpolate colors between start and end points in Shape items. Outside these points the gradient is either padded, reflected or repeated depending on the spread type.
- OpacityMask
与layer.effect结合,可用于控制区域的可见区域:圆角矩形、椭圆、原型等。
由于 Qt6 不再支持 QtGraphicalEffects 相关功能。使用 Qt6 时,需导入 import Qt5Compat.GraphicalEffects;使用 Qt5 时,需导入 import QtGraphicalEffects 1.15。
简介
QML 预研的出发点是:解决问题, 个人能力成长。 解决问题为先,所以博主把项目中最难啃的组件 ImageSlider 放在 QML 重构系列的第一篇。需要解决问题如下:
- 组件圆角问题:需要对容器施加圆角,需要用到 预备知识 中提及的
OpcityMask组件 - 圆角锯齿问题:需要考虑屏幕 dpi 的影响
- 填充模式问题:即 预备知识 中提及的
Cover模式 - 琐碎样式问题:渐变、Indicator 等
注:QWidget 也能解决上述问题,只是同事已经投入过多工时。赶上好时候,看看 QML 是否更好用。
组件拆解
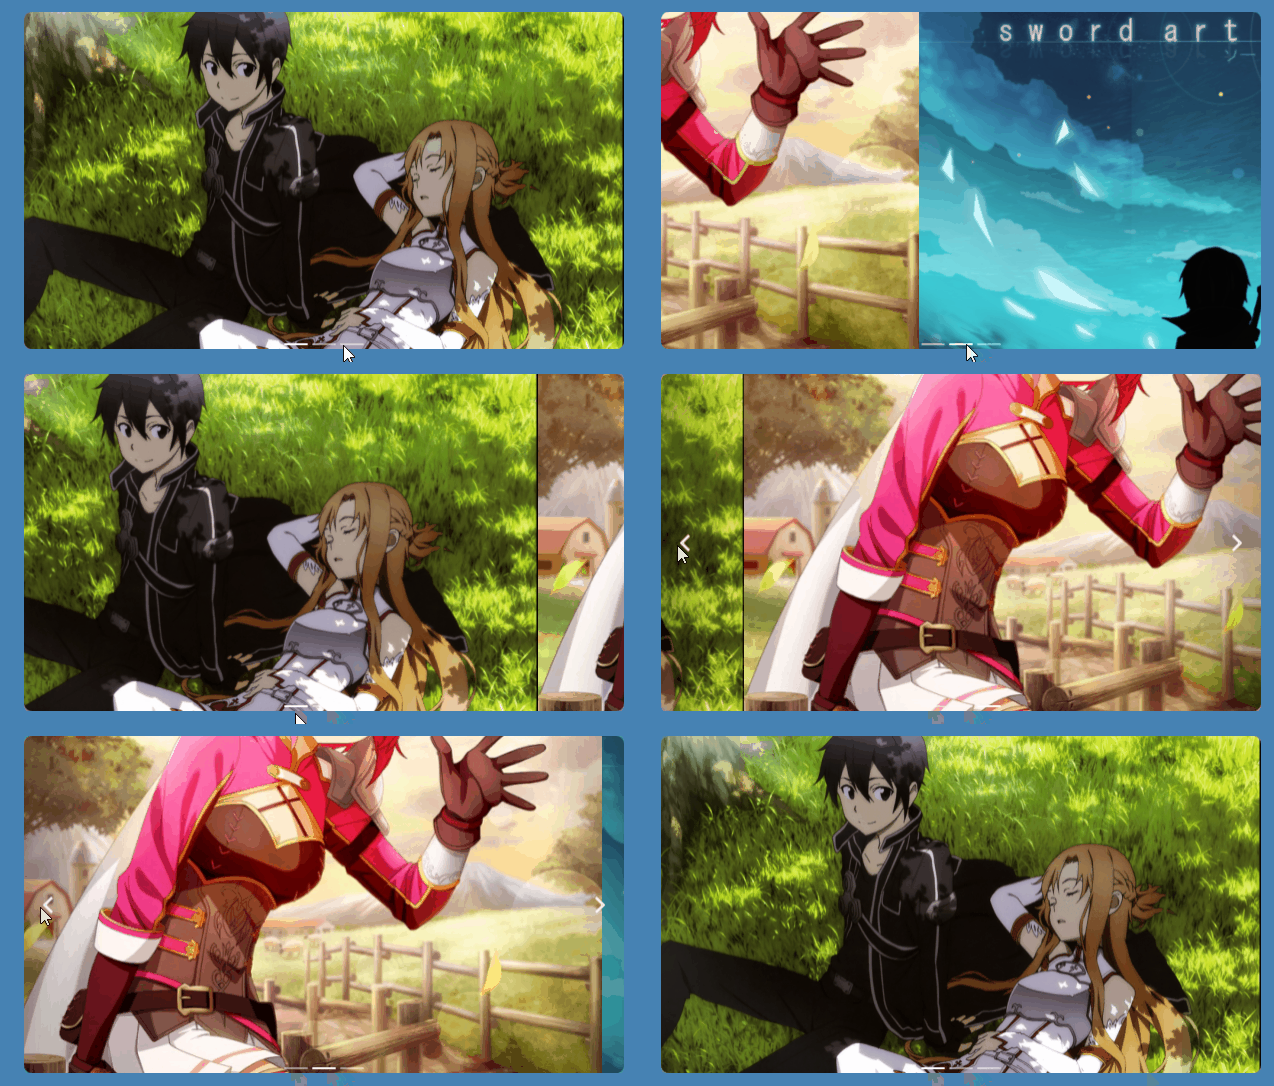
根据背景介绍的 GIF 动画,可以把组件拆解为如下几个部分:
- 容器圆角:全局控制整个组件外观,即:8px 圆角
- 渐变区域:水平渐变。当鼠标移入组件内部时,两侧出现 80px 宽度的可交互区域
- 指示器:水平居中排列。当鼠标移入时,可切换至指示器对应的画面
图片显示:SwipeView 官方组件:提供可视化,可交互区域- 图片加载与更新: Repeater 官方组件:通过
model和delegate属性绑定,实时按需更新和加载数据
功能实现:
本节不作描述,直接给出比较难实现的局部功能。
容器圆角
1
2
3
4
5
6
7
8
9
10
11
12
13
14
15
16
17
18
19
20
21
22
23
24
import QtGraphicalEffects 1.15 // Qt5
import Qt5Compat.GraphicalEffects // Qt6
UserComponent.SlideView{ // this is the user-defined ImageSlider
id: slider
Layout.alignment: ...
Layout.minimumWidth: ...
Layout.minimumHeight: ...
// control the rounded area
layer.enabled: true
layer.effect: OpacityMask{
maskSource: mask
}
Rectangle{
id: mask
width: parent.width
height: parent.height
radius: 8
visible: false
}
}侧边区域
1
2
3
4
5
6
7
8
9
10
11
12
13
14
15
16
17
18
19
20
21
import QtGraphicalEffects 1.15 // Qt5
import Qt5Compat.GraphicalEffects // Qt6
Rectangle{// linear gradient area
id: leftarea
z: 1 // topest
anchors.left: parent.left
anchors.verticalCenter: parent.verticalCenter
width: 80 // 80px
LinearGradient{
anchors.fill: parent
start: Qt.point(0, 0)
end: Qt.point(parent.width, 0)
gradient: Gradient{
GradientStop{position: 0.0; color: Qt.rgba(0,0,0,0.3)}
GradientStop{position: 1.0; color: "transparent"}
}
}
}指示器: Indicator
1
2
3
4
5
6
7
8
9
10
11
12
13
14
15
16
17
18
19
20
21
22
23
24
25
26
27
28
29
30
31
32
33PageIndicator{
id: indicator
count: imgSwipe.count // property binding
currentIndex: imgSwipe.currentIndex
anchors.bottom: imgSwipe.bottom
anchors.horizontalCenter: parent.horizontalCenter
interactive: true
delegate: Rectangle{
implicitWidth: 24
implicitHeight: 2
radius: height / 2 // notice here, max to half height
color: "white"
opacity: index === indicator.currentIndex ? 1.0: 0.5
Behavior on opcity{
OpacityAnimator{
duration: 100
}
}
MouseArea{
hoverEnabled: true
anchors.fill: parent
onEntered: {
...
}
}
}
}图片加载与更新
1
2
3
4
5
6
7
8
9
10
11
12
13
14
15
16
17
18
19
20
21
22
23
24
25
26Repeater{
model: sliderData.length // sliderData: user-defined property expose to c++
delegate: Rectangle{
color: "transparent"
Image{
anchors.fill: parent
source: "image://netimgprovider" + sliderData[index]
sourceSize.height: parent.height
sourceSize.width: parent.width
fillMode: Image.PreserveAspectCrop // Cover mode
cache: true
}
MouseArea{
anchors.fill: parent
hoverEnabled: true
onExited: {
// control linear gradient area to hide
}
onEntered:{
// ... to show
}
}
}
}
附记
此系列文章专注于 UI 及交互实现,会忽略数据加载和处理部分的细节,如:”image://netimgprovider” 是预备知识中 ImageProvider 专用匹配模式。感兴趣可查看 Qt Assistant~